responsive web templates

CLINICAL CASES - A

ZERAMEX® XT site # 36

Courtesy Dr. Jens Tartsch  |  [email protected] | www.zahnarzt-kilchberg.ch
( click on the title above to access the published article in a new window)
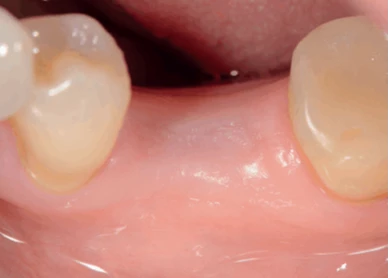
1- Site # 36 4 months post exodontia
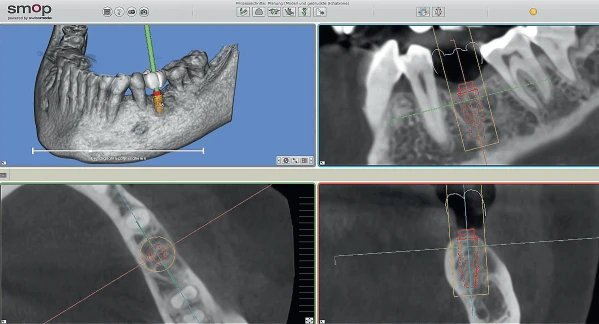
2- Planning implant dimension and position via 3-D planning software.
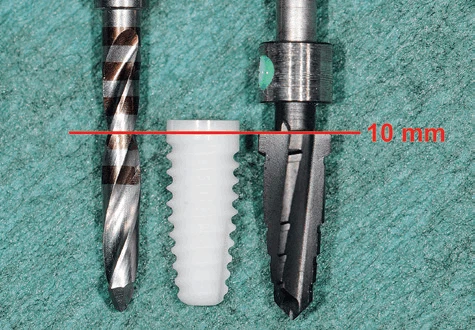
3- ZERAMEX® XT 4.2 x 10mm & abutment
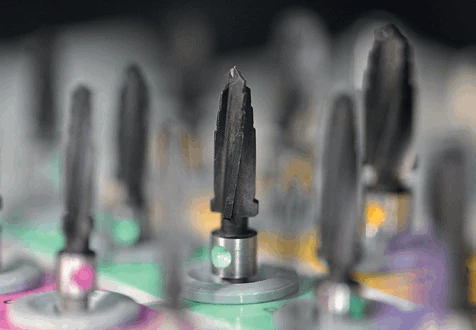
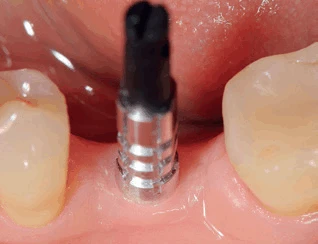
4- XT profile drill color coded with carbon coating
5-Pilot and profile drills: endosteal length 10 mm plus 0.6 mm in the neck area.
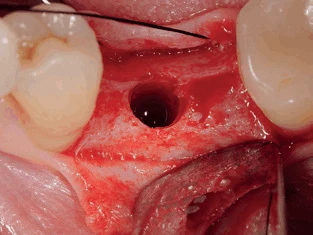
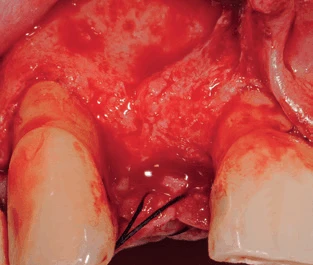
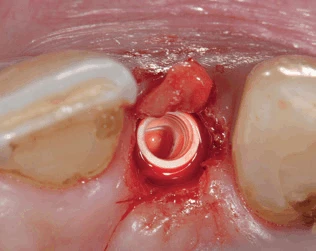
6- Site # 36 after osteotomy
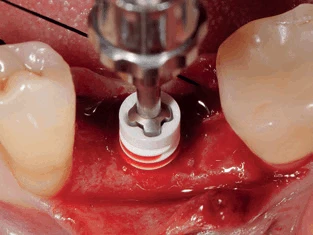
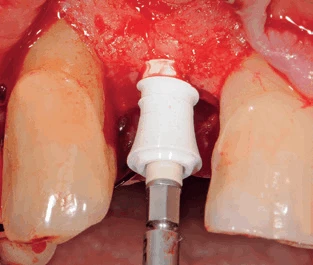
7-Insertion with Bolt-in-Tube
Torqued to 30 Ncm2
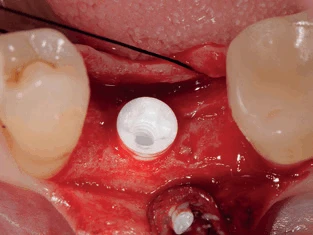
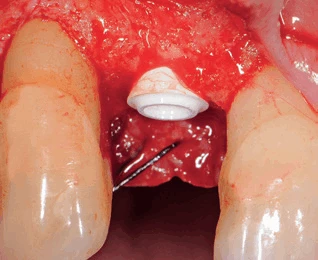
8-Implant in situ, neck area 0.6 mm supracrestal
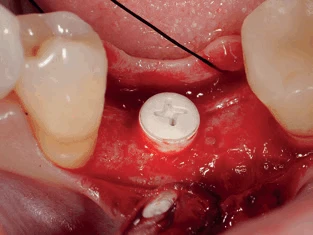
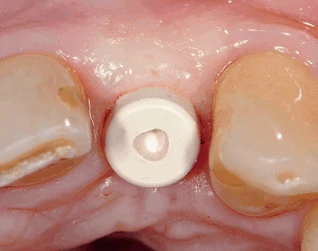
9-The flat healing cap allows for primary wound closure.
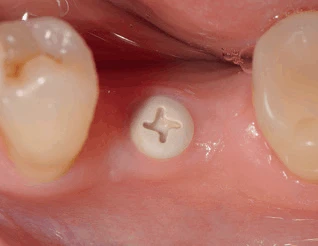
10-Transition phase with gingivaformer XT.
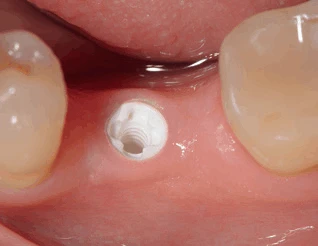
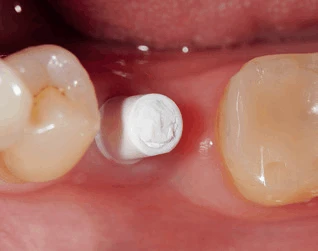
11- ZERAMEX® XT implant before impression taking.
12-Precise impression with open tray technique
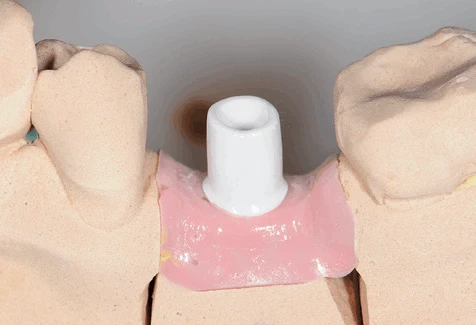
13-Individualized abutment on master model.
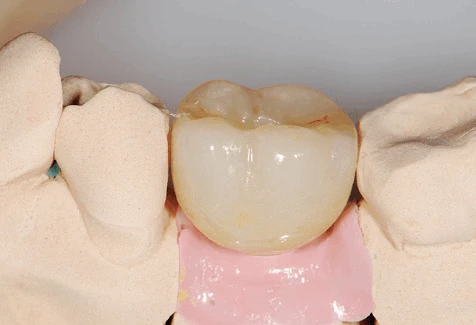
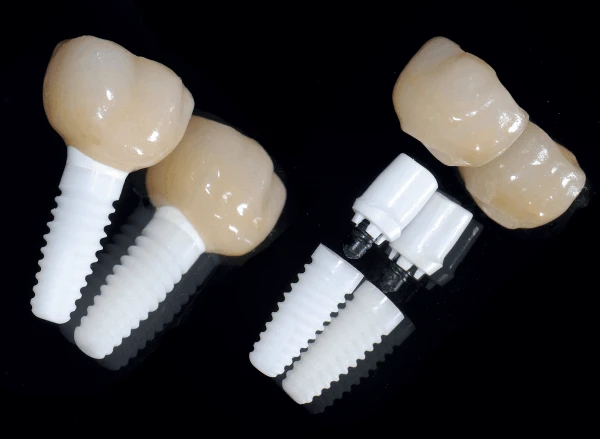
14-Full contour zirconia crown with occlusal screw channel.
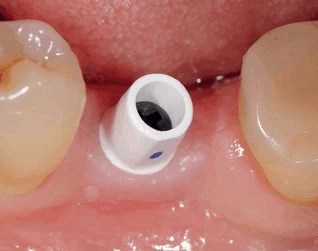
15- Verification of the abutment in situ. VICARBO screw hand tightened only.
16- Closure of the screw channel with Teflon tape in preparation for bonding
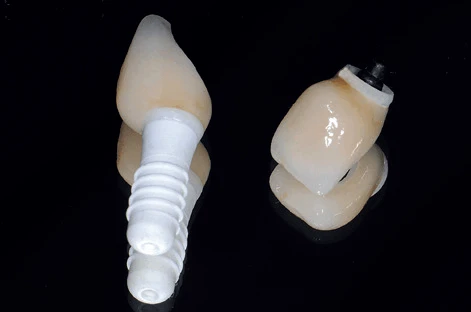
17- ZERAMEX® XT with zirconia crown.
100% metal and cement free.
18- Restoration glued in
situ, Teflon tape already removed from the  screw channel.
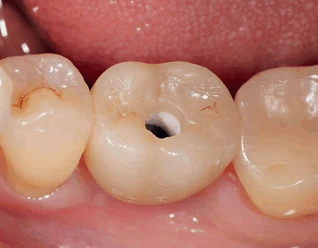
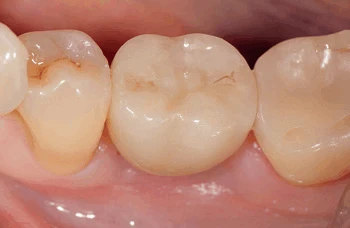
19- Crown screwed in place with the VICARBO screw at 25Ncm2 and closure of the screw channel with composite.
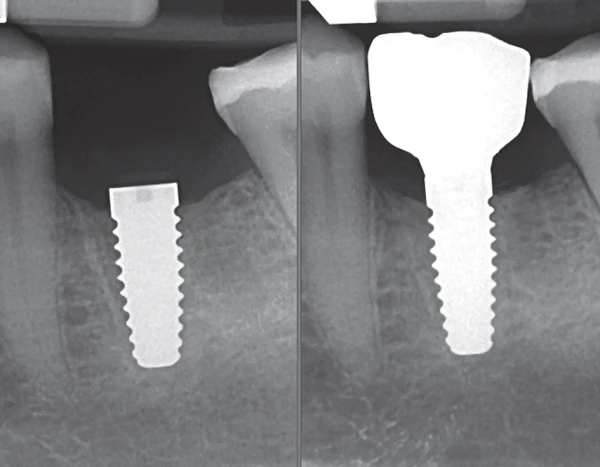
20- Post operative radiograph (left) and control radiograph 4 months post surgery.
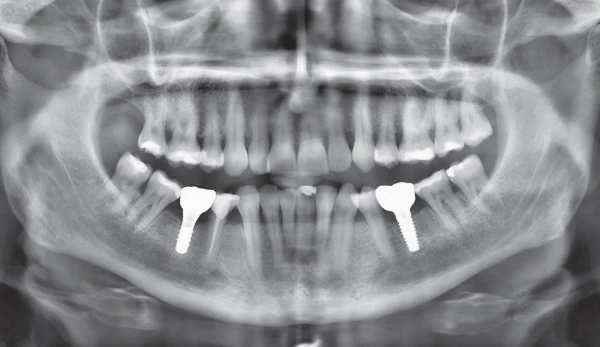
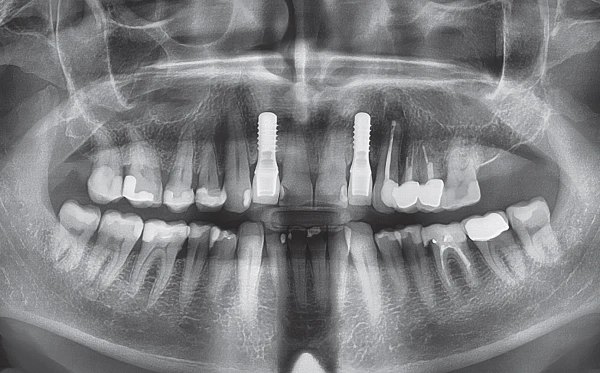
21- A special feature - both ZERAMEX® systems in the same jaw: P6 (46) and XT (36).
Orthopantomograph taken one year post surgery.

Reversible screwed
ZERAMEX® P6 implants in the
aesthetic anterior region - Sites # 12 & 22

Courtesy Dr. Jens Tartsch | [email protected] | www.zahnarzt-kilchberg.ch
( click on the title above to access the published article in a new window)
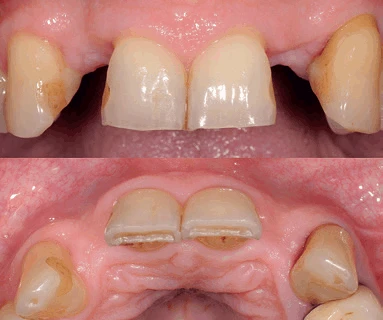
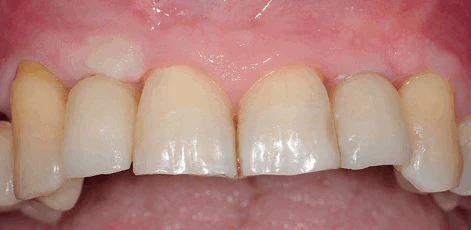
1- Initial situation
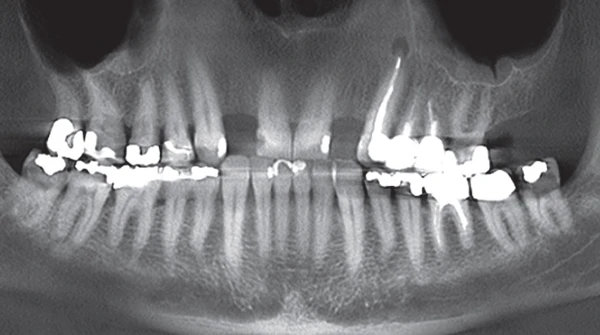
2- OPG (orthopantomogram) initial situation.
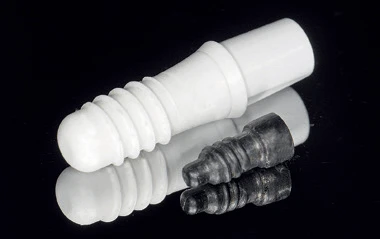
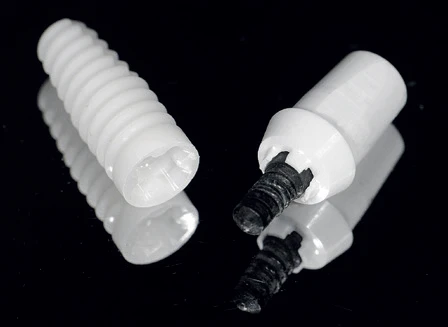
3-Zeramex P6 implant, abutment and VICARBO screw.
4- Site # 12  reflected buccal flap.
5- Site # 12 Gradual insertion of P6 4.1 x 12mm
6- Implant # 12 in situ.
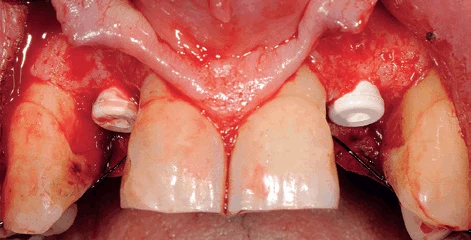
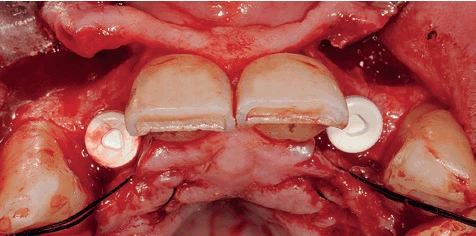
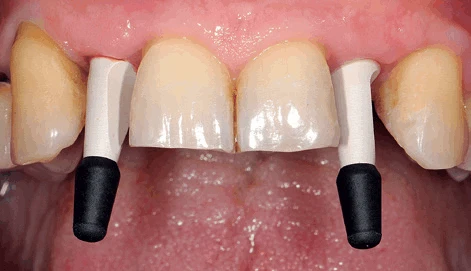
7- Implants # 12-22 with healing cover
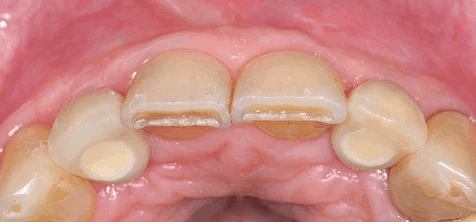
8- Occlusal view
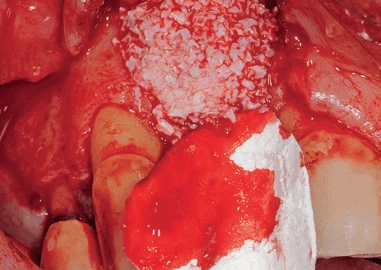
9- Lateral augmentation with Bio-Oss and Bio-Gide | site # 12
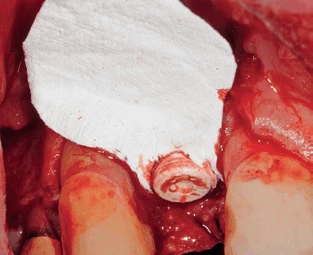
10- Bio-Gide membrane over Bio-Oss graft.
11- Inflammation-free status pre-reentry.
12- Re-entry site # 22 with rolled flap.
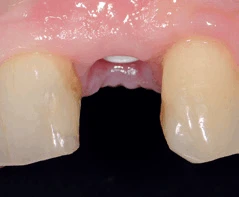
13- Gingivaformer in situ - site # 22
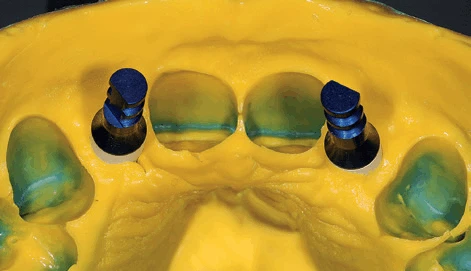
14- Impression - open tray technique
15- Impression material with implant analog
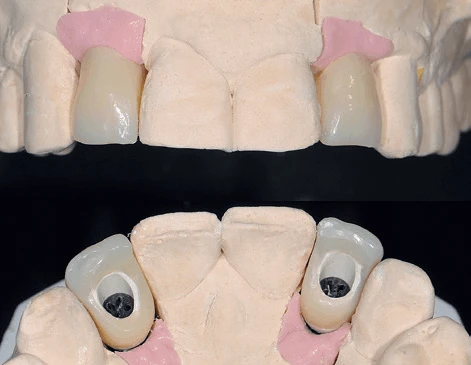
16- Master model with crowns
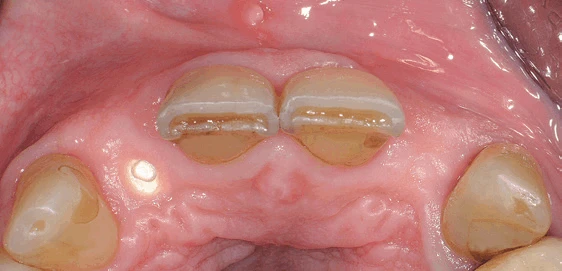
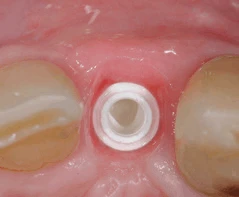
17- Inflammation-free site | Occlusal view
18- Buccal view - Heathly soft tissues with no discoloration
19- Abutment try-in to show the emergence profile
20- Pressed ceramic crowns ready for insertion
21- Crowns screwed in with VICARBO screws.
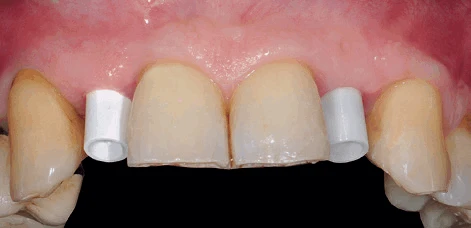
22- Closure of the palatal screw channels with composite.
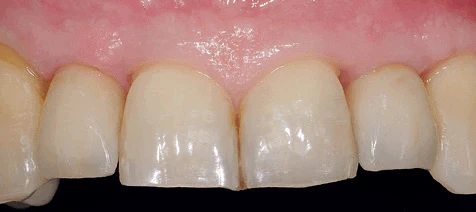
23- Buccal view 18 months after insertion
24- Radiograph 18 months after insertion.